
Rancher is an open-source cloud-native platform for Kubernetes management. It allows you to manage and scale workloads consistently across different clusters in any environment, while supporting any certified Kubernetes distribution(GKE, AWS, Azure).
By combining Axiom with Rancher, you can monitor Kubernetes, Ranchers, and all your services quickly and easily. Monitoring with Axiom means not having to choose how much data you send and how long it’s kept for. Monitor all your clusters and services, diagnose problems, and gain insights easily.
In this tutorial, I will show you how to ingress logs from Rancher to Axiom. You will then be able to analyze, stream and visualize queries using different aggregations on your Kubernetes logs directly on Axiom
Prerequisites
- A host VM, laptop, or server with a public internet IP address, and port 22, 80, and 443 unblocked.
- Rancher Server
- AWS Account
- Docker & Kubectl
- An Axiom dataset & ingest token
Let’s get moving 💫
- Visit the Rancher home page to start the Rancher server, copy the Docker command and execute it on your terminal. (Rancher version should be equal to or later than 2.0)
$ sudo docker run --privileged -d --restart=unless-stopped -p 80:80 -p 443:443 rancher/rancher
You can mount a volume on your host machine and map that to the volume inside the container if you want to.
-
Run
docker psto see if your container is running, a random name will be generated for your container. -
Run
docker logs -f (name of container)to get the logs of your container and start it. It is going to take some minutes to start the container. -
Go to the web browser, visit
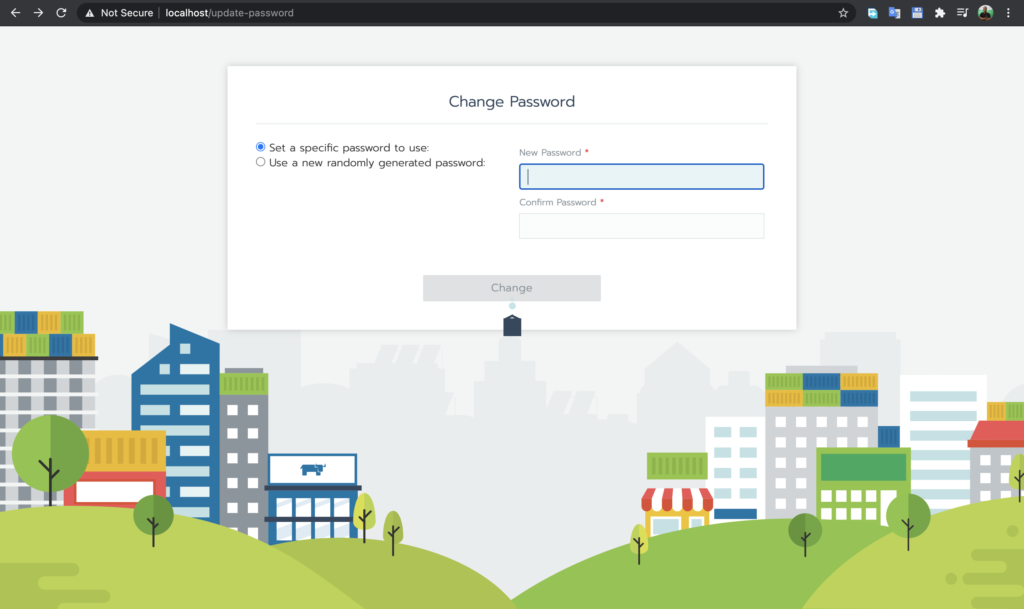
localhostthis is the welcome screen you get when you install Rancher.
- Point your browser at your host’s public IP so that EKS can notify Rancher of installation progress:

- Setup your password and Log in
- After you have logged in, this is how your Rancher dashboard should look like:
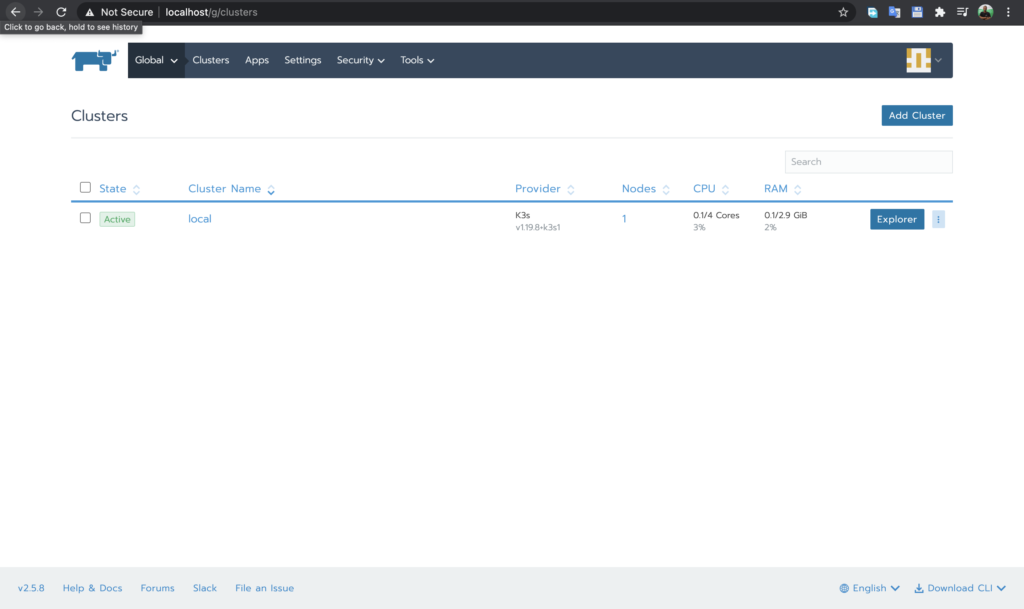
- Select Cluster on the dashboard to provision your EKS Cluster.
- Before you create your EKS Cluster, You’ll first need to create secret credentials for your account. Do this by going to IAM > Users > (Your Username) > Security Credentials on AWS
- Then click on Create access key; a pop up like this should appear:
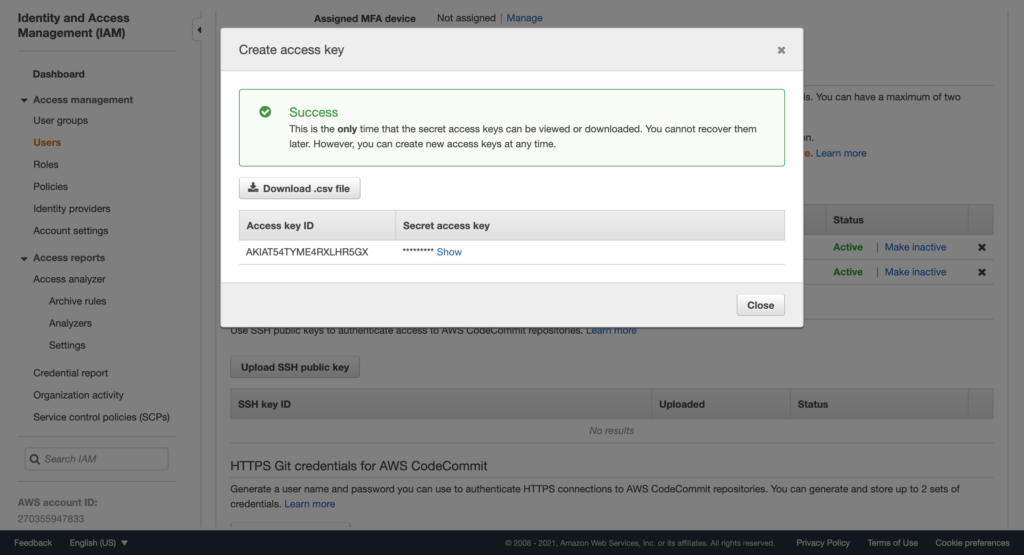
Record the Access Key ID and the Secret Access Key; you will need these when creating your EKS cluster in Rancher.
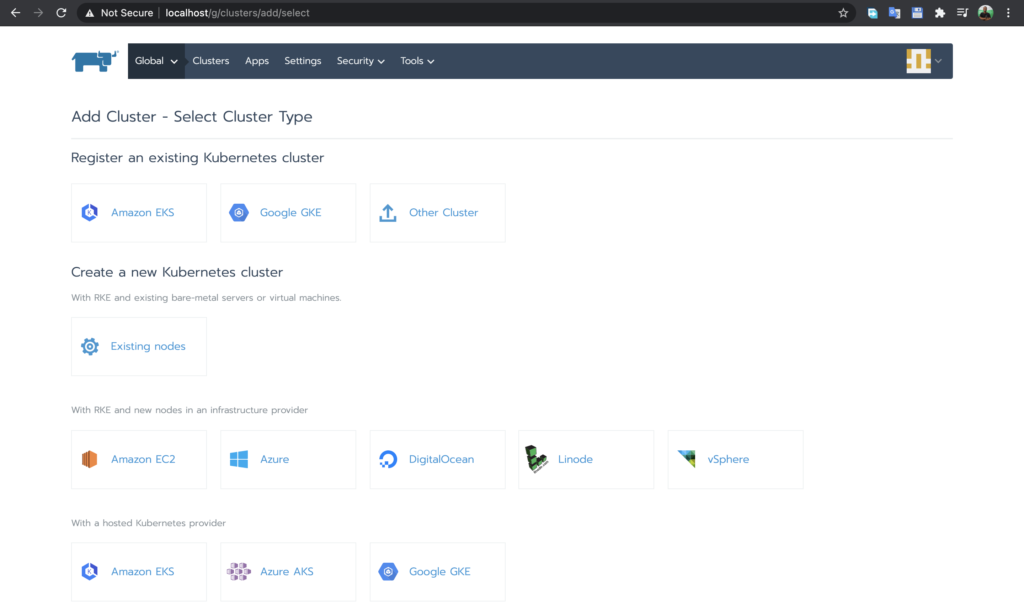
- Next, go into your instance of Rancher, click the Add Cluster button, and select the Amazon EKS option. Now give the cluster a name, here is used
RancherEKSAxiomas the name of my cluster. Also, Input the Access Key ID and Secret Access Key you recorded in the previous step.
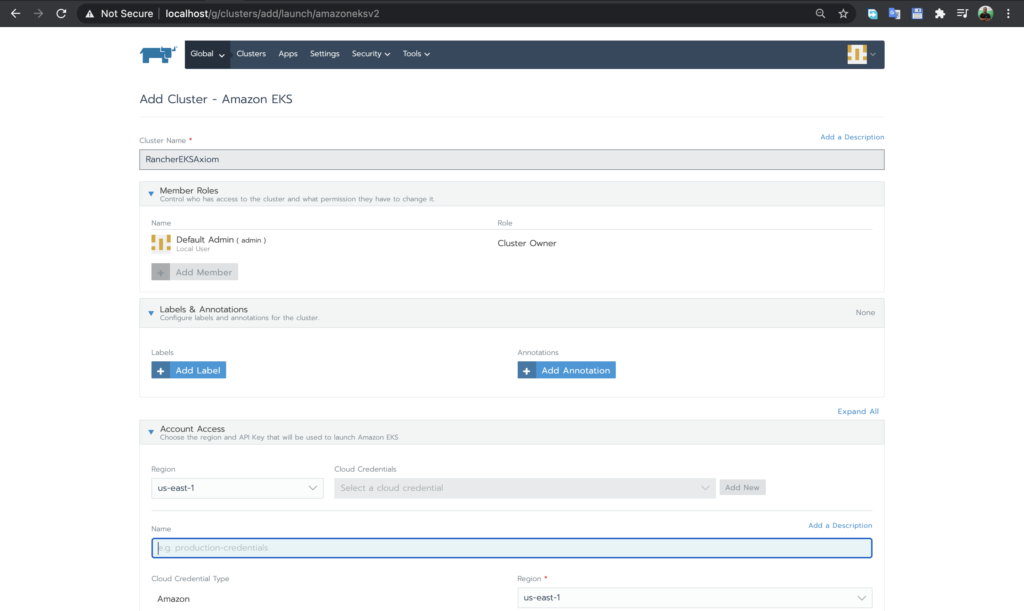
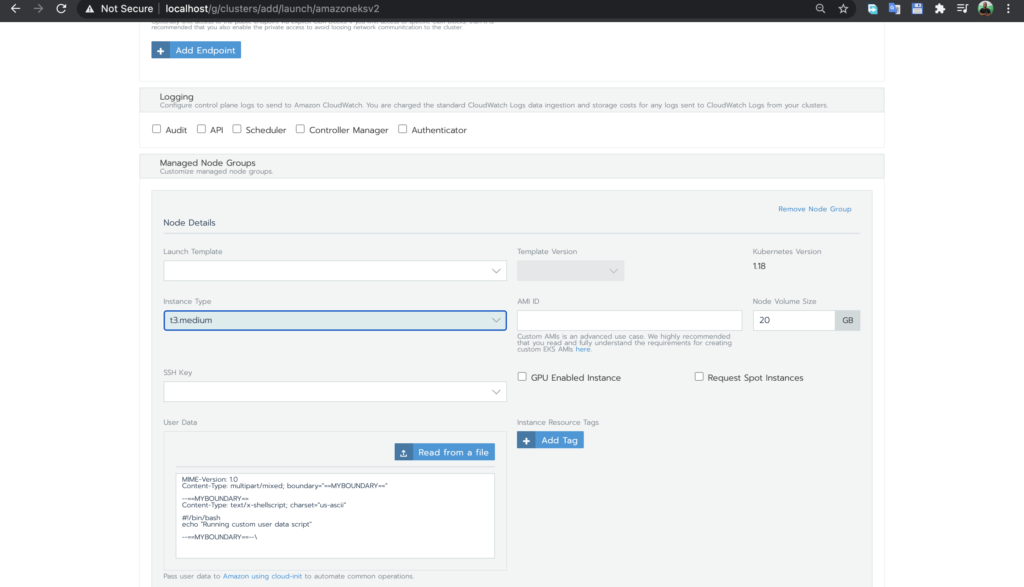
- Select the region where you want to deploy your EKS cluster, leave everything set to the defaults, then click Next: Select Service Role. Rancher will verify that the Key ID and Secret you submitted are authorized, select the IP for the worker nodes, Instance options VPC, Subnets, and fill up the node and security details.
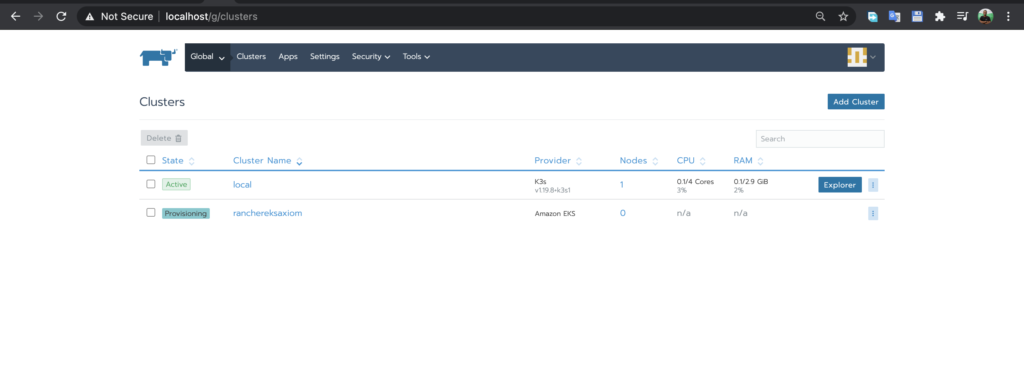
- Once verification is completed, Click on Create. It is going to take sometime to provision the Cluster. It will take 10 to 15 minutes for the EKS cluster to be created; in the meantime, you will see the cluster status as ‘Provisioning’ on the console.
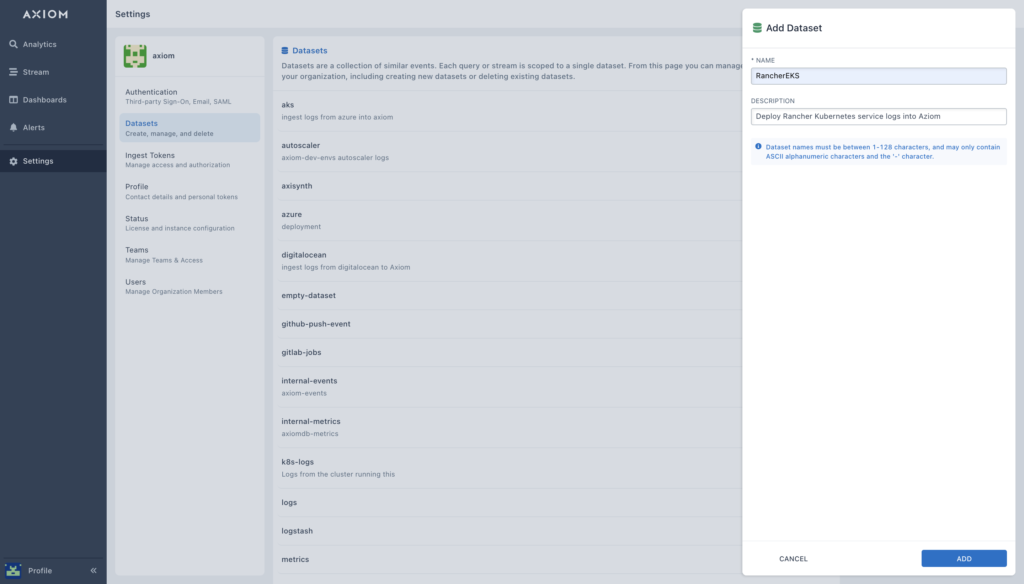
- Back in Axiom, create the dataset you will use to deploy your Rancher Kubernetes logs to Axiom by selecting Settings → Datasets.
- Generate your ingest token,
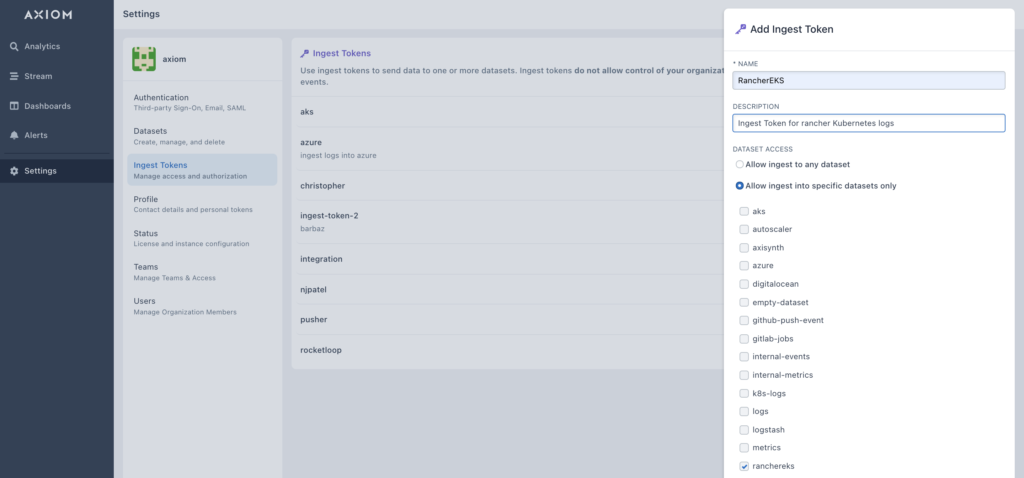
- On the Axiom UI, click on settings, select ingest token.
- Select Add ingest token.
- Enter a name and description and select ADD. Make sure that you selected the correct dataset name you created in step 11.
- Copy the generated token to your clipboard. Once you navigate from the page, the token can be seen again by selecting Ingest Tokens.
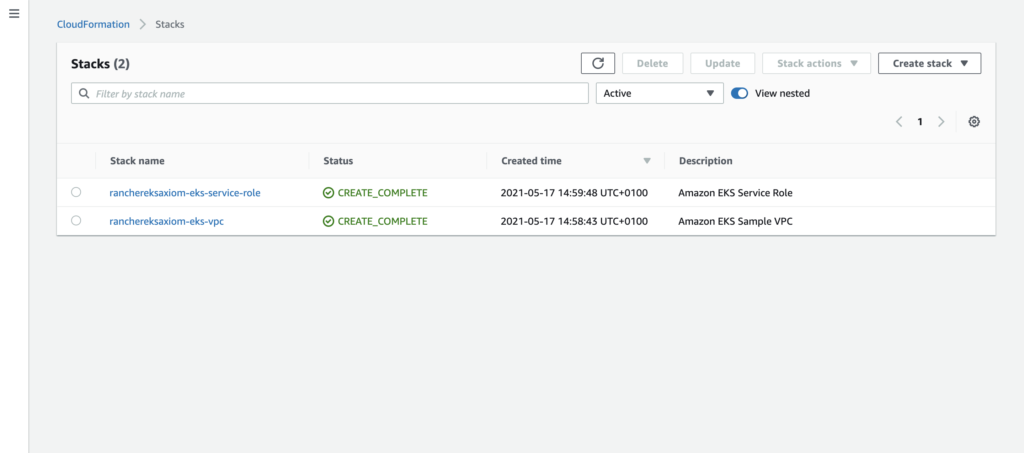
- Rancher kicks off the installation by using Cloudformation templates on the AWS back-end. You can monitor these detailed events by going to the Cloudformation console, as shown in the screenshot below:
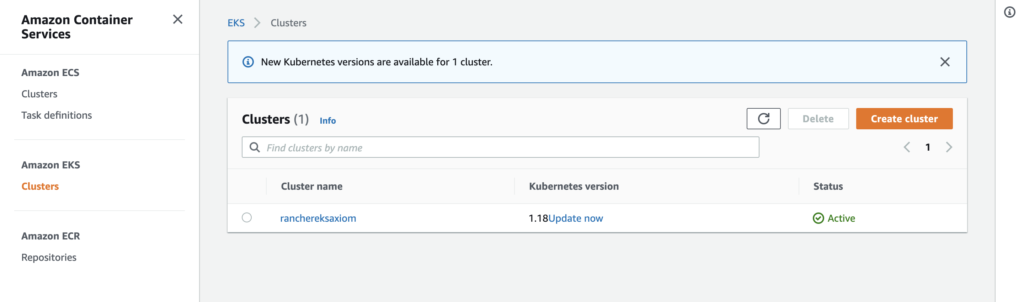
- You can also visit the EKS console and verify that a cluster is being created, as in the screenshot below:
- Once the cluster has finished provisioning, you should see the status in the Rancher console turn to “Active:” You can now deploy your logs from Rancher to Axiom.
- Axiom uses Filebeats to forward logs from your Kubernetes cluster. Setting it up is as simple as copying the
daemonset’s yamlfile from the Axiom Docs and configuring it by adding the environment variable values for your Axiom host, dataset, and the ingest token.
env:
- name: AXIOM_HOST
value: https://app.axiom.co // replace with your self-host url if needed
- name: AXIOM_DATASET_NAME
value: aks-logs
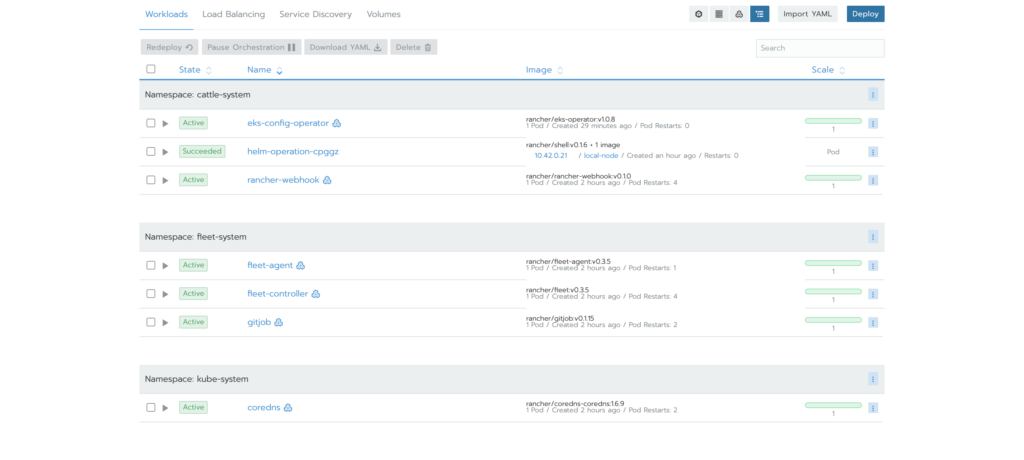
- name: AXIOM_INGEST_TOKEN
value: xait-xxxxxxxx-xxxx-xxxx-xxxx-xxxxxxxxxxxx- On the Rancher Dashboard, click on import Yaml, upload the yaml file you configured in step 15, your workloads and daemon set should be created as in the screenshot below:
- Back in Axiom, you will see your logs from Rancher been ingested live to the dataset you created earlier.
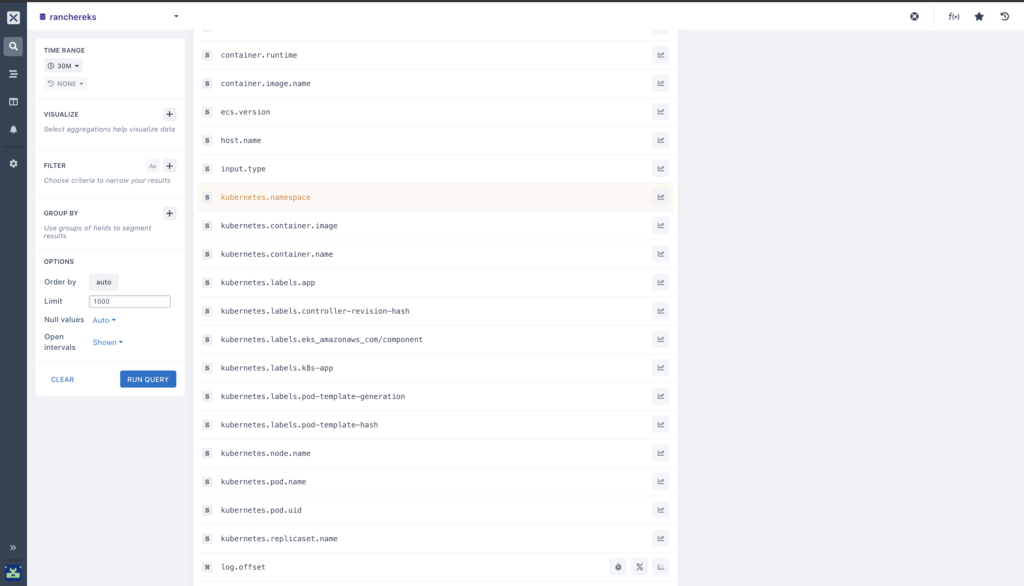
- You can now collect and store insights on your logs and run aggregations across all the matching data to generate visualization, as well as a table of results.
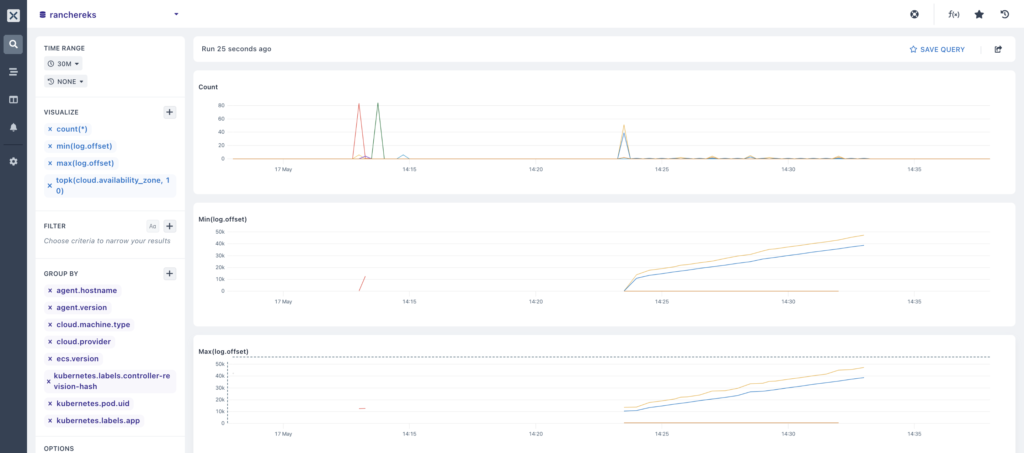
- With these Visualizations, your team can create and obtain data stats, group fields and observe methods in your running Kubernetes logs.
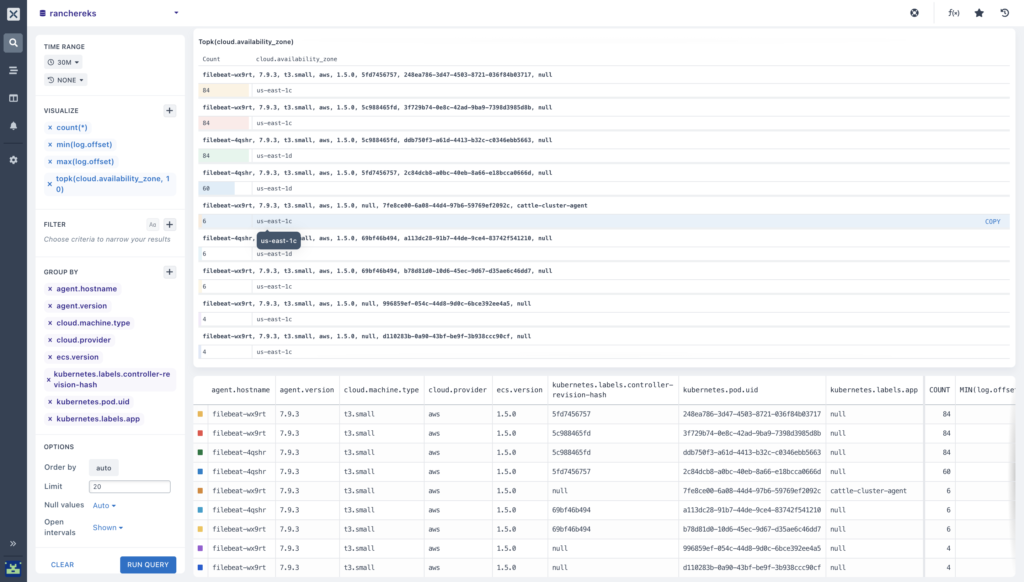
- You can also segment your data by running aggregations with a Group By clause or pair your aggregations with the Against query option
- Stream your Kubernetes logs on Axiom.
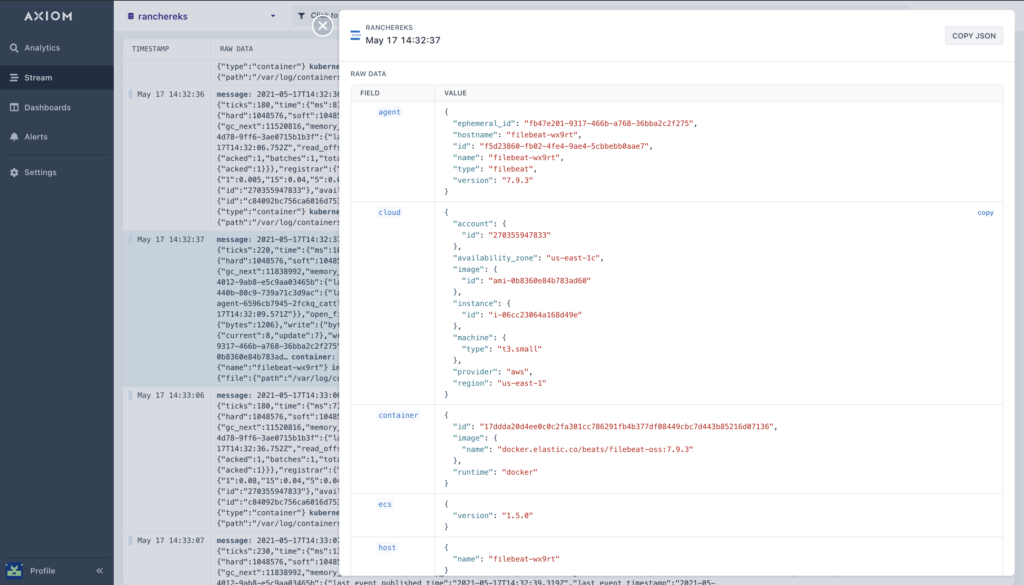
- This allows you to inspect individual events from Rancher Kubernetes Service and watch as they are ingested live. With this stream feature, you can process, analyze high volumes of Kubernetes logs in real-time.
That’s it…for now 🙂
You can read more about Axiom Kubernetes configuration on our docs.
If you have specific questions or issues configuring the file, I’d love to hear about them. Contact us here or ask a question in our Discord community!
You can also follow us on Twitter and on our blog. And if you’ve enjoyed this post, please, take a second to share it on Twitter.


